
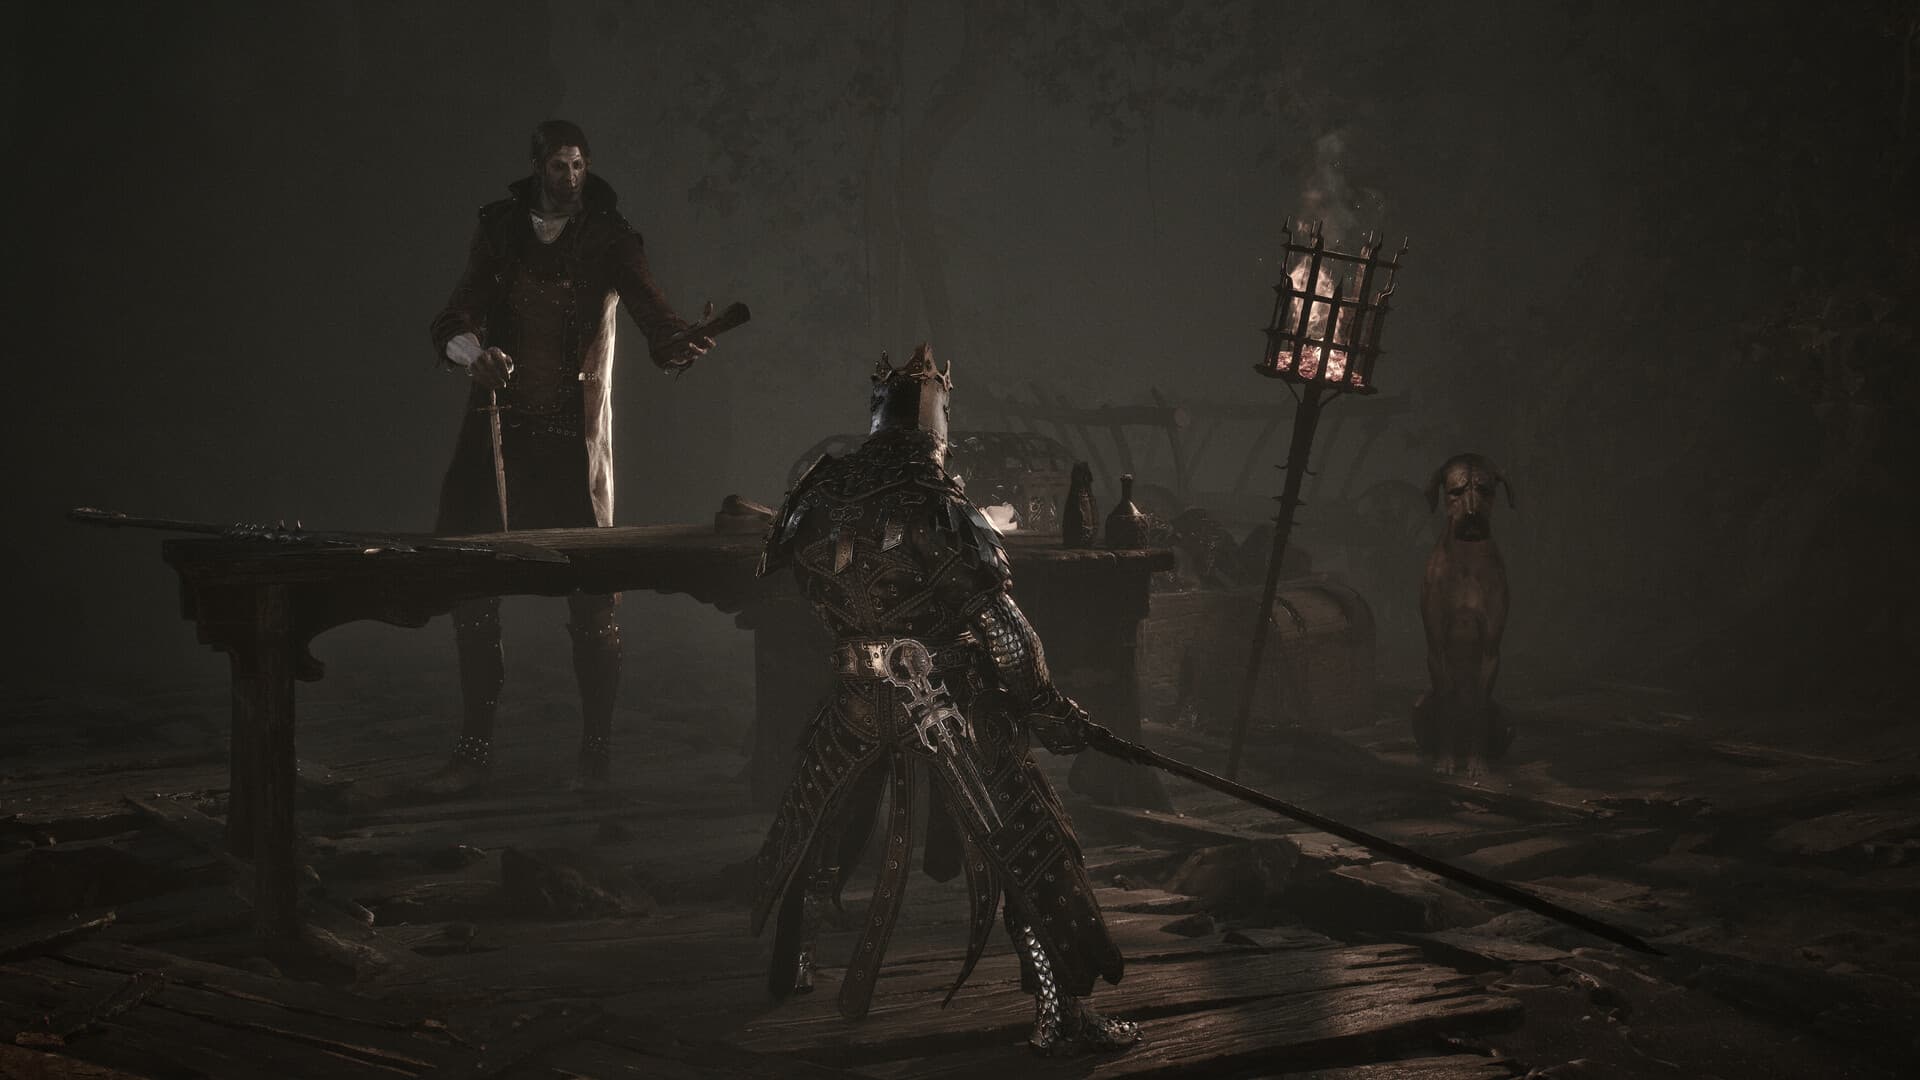
Mortal Shell II NPC Quests
The documented Mortal Shell II NPC quest set includes connected steps for Gorf and Hilga, the Grisha pup, Egon, Vlas, and Baghead. The reliable progression habit is simple: exhaust an NPC's dialogue, rest at a Beacon or otherwise reload the area, then speak again or check the next documented location. Keep quest items until their owner and outcome are clear, because the game does not always present these stories as a conventional journal checklist.
How to track NPC quests safely
Speak to every named NPC until the dialogue begins repeating. One interaction is not always enough to advance a state, and leaving after the first line can make a later location appear empty. After exhausting dialogue, rest at a Beacon and return before assuming that the guide or quest is broken.
Record three facts for each quest: the last place you saw the NPC, the last unique line or request, and any item associated with that request. This small log is more reliable than remembering a long sequence across several regions. It also tells you whether the next action is conversation, travel, item delivery, or a reload.
Do not discard, sell, or casually exchange unusual named items. If an item description suggests a person or place, keep it until the corresponding interaction is verified. This guide omits reward quantities that were not consistently established by the reviewed sources.
Gorf and Hilga
Gorf is documented near an early Beacon and begins a quest involving marsh pearls and later contact with Hilga. Exhaust Gorf's dialogue and follow the requested item step rather than trying to force progress through repeated area travel. Once the current conversation is complete, reload the area and check again for changed dialogue.
Hilga is associated with Mushroom Village and becomes part of Gorf's sequence. The connected quest involves a dagger handoff and a later appearance near Gorf. Because these steps join two NPC locations, update your notes after every handoff so you do not return to the wrong character with an already completed request.
If Hilga or Gorf does not move when expected, repeat the basic validation loop: talk until lines repeat, rest at a Beacon, then revisit both relevant locations. Do not assume that defeating an unrelated regional boss is the missing trigger unless a current source explicitly ties that fight to the next stage.
The Grisha pup
The Grisha pup has a small NPC sequence that should be treated separately from hostile Grisha encounters. Approach without assuming every creature sharing the name is a quest target. Exhaust the available interaction and observe whether a rest or reload changes the pup's position or state.
Community documentation around later Grisha locations can be inconsistent, so avoid inventing a destination when the NPC is absent. Check the last verified place, reload once, and confirm whether another recorded quest step is unfinished. The absence of an NPC after a state change is evidence to investigate, not permission to substitute a similarly named enemy.
Keep this quest in its own checklist row. Combining it with a boss or creature-location hunt creates false completion signals. Only mark it complete when the documented interaction sequence and final state match what you see in your current game.
Egon
Egon's quest is another conversation-driven sequence where dialogue state matters. When you first meet him, complete every available line and note the exact region or landmark rather than a vague compass direction. Open-world return routes are much easier when the map note names a Beacon and a visible structure.
After the initial meeting, rest or reload before checking for the next state. If Egon remains in place, speak again and listen for a genuinely new line. If he moves, consult the recorded route rather than searching every settlement, because NPC movement is part of the quest rather than a random spawn.
Do not attach an unverified item or reward to Egon's sequence. The sources used for this overview support tracking the NPC quest, but this page keeps uncertain quantities and unsupported outcomes out. That makes the checklist useful even if a patch adjusts rewards.
Vlas and the Unremarkable Key
Vlas is connected to a quest sequence involving Mutton and the Unremarkable Key. Treat the key as a named quest object, not as a generic door key. Exhaust Vlas's dialogue before searching for the requested target so the game state and your route are aligned.
When the quest directs you toward a cage or locked interaction, verify that the key name matches before trying nearby unrelated locks. Mortal Shell II contains other named keys, including the Chapel Key searched as the Mushroom Village Key, and confusing them can send you into the wrong guide entirely.
After completing an item or cage interaction, return to Vlas and repeat the talk–rest–talk cycle. The separate Vlas video source was included because it demonstrates the named sequence rather than merely listing the NPC. If your build shows a different final reward after a patch, trust the current in-game result and keep the route facts separate from the reward.
Baghead
Baghead's familiar style hides a choice-oriented NPC interaction. At Desolate Peak, sit when prompted, inspect the Special Moonshine, show it to Baghead, then return it to its original crate. The documented solution is to approach Baghead empty-handed and confirm that you brought nothing, which triggers the hidden joke ending and credits.
Before the final conversation, activate a nearby Beacon, spend resources you do not want to risk, and finish any immediate exploration. Do not retain the Special Moonshine: carrying it blocks the empty-handed response, and reports describe the quest item persisting into New Game Plus. Read every final confirmation before accepting the ending sequence.
If you are following an achievement or ending plan, consult that plan before confirming Baghead's last step. After returning the bottle and approaching with nothing, confirm the final prompts only when you are ready to see the alternate credits. Continue from the nearby Beacon afterward and verify the achievement state in your current platform build.
Avoid the most common progression mistakes
The first mistake is leaving dialogue too early. Continue until lines repeat, because multiple presses may be the trigger. The second is checking the next location without reloading; resting at a Beacon is the safest repeatable way to refresh an area state.
The third mistake is confusing quest items with similarly described keys or consumables. Record the exact name, especially for the Unremarkable Key, Chapel Key, and special moonshine. The fourth is assuming an absent NPC is dead or permanently lost when the current step may simply be incomplete.
Finally, do not mix NPC quest completion with a general NPC census. Vendors, service characters, and story speakers may not all have multi-stage side quests. This page covers the currently documented quest sequences, not every person who can be spoken to.
NPC quest checklist
- Gorf: exhaust dialogue, handle the requested pearl step, reload, and track the Hilga connection.
- Hilga: begin from Mushroom Village, complete the dagger-related handoff, and check the later Gorf location.
- Grisha pup: keep its interaction separate from hostile Grisha encounters and verify each state after resting.
- Egon: record the first landmark, exhaust dialogue, reload, and follow only the documented next position.
- Vlas: complete the Mutton and Unremarkable Key sequence, then return for follow-up dialogue.
- Baghead: return the Special Moonshine to its crate, approach empty-handed, and review the ending choice before confirming it.
Use the map guide to identify regions and Ruk fragments before a long NPC search. The dungeon walkthrough is better for interior route progression, while the Mushroom Village Key page explains the Chapel Key and Shrine of Trials rather than Vlas's Unremarkable Key.
Sources
- Neoseeker: Mortal Shell II walkthrough
- LunarGaming: all NPC quests guide
- Shark R: Vlas quest guide
- NerdsChalk: Baghead quest and secret ending
Last updated: