
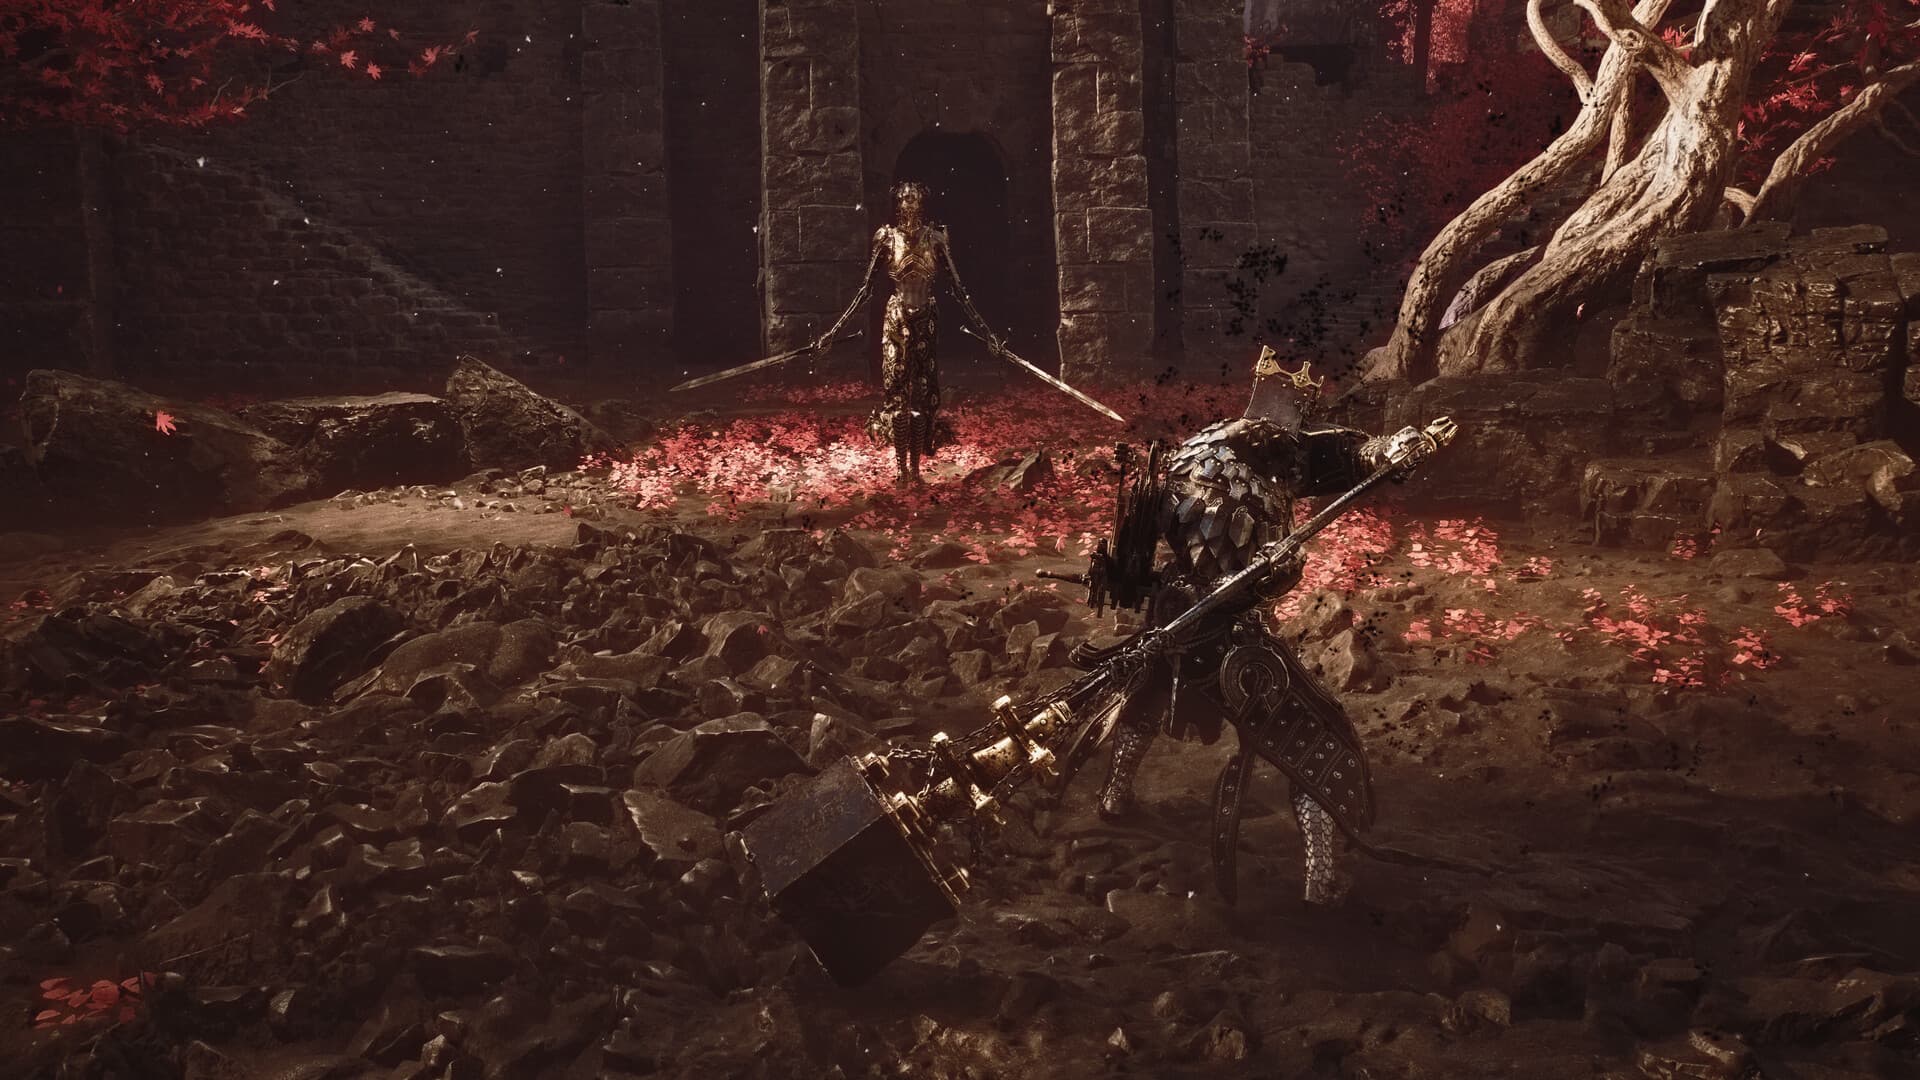
Mortal Shell II Axatana
Axatana is a morphing melee weapon found in the Forgotten Tower area of Mammon. From the Sester's Gate route, drop past the Rollerball enemy, turn left instead of entering the abbey, cross the ravine through the jump gates, press the plate beside the metal door, defeat the Dagger Sester, and take the weapon from the niche. Its main strength is flexibility: light and heavy inputs change its form so one loadout can answer fast single targets and wider groups.
Axatana location at a glance
The verified destination is Forgotten Tower in Mammon. This is not a starting-room pickup, so prepare for regional travel and enemies that can punish an underdeveloped build. Activate a nearby Beacon or other reliable return point before exploring the final approach.
Begin at the Sester's Gate side and find the Rollerball enemy in the courtyard. Drop from the walkway past that enemy, but turn left rather than entering the lower abbey. Use the connected jump or Bone Gates to cross into Forgotten Tower and continue toward the gated interior.
The safest collection plan is to clear or separate enemies, identify the pickup, and secure Axatana before spending time on optional loot. Some community routes demonstrate running past the strongest guard, but that is a risk-management shortcut rather than the only intended method. Use it only if you can return to safety after obtaining the weapon.
Prepare for the Forgotten Tower route
Bring a Shell and primary weapon you already understand. The route to a desired weapon is a poor place to learn an unfamiliar moveset because the reward cannot help until you reach it. Spend vulnerable resources, check healing, and make sure your last checkpoint does not create an exhausting recovery run.
Mammon can be treated as a meaningful exploration step beyond the opening region. If ordinary enemies take too long or defeat you in a single repeated sequence, collect upgrades and map knowledge before forcing the route. Axatana remains available later, and no reliable source used here establishes that the pickup becomes permanently missable.
When navigating, distinguish the region destination from the exact room. After the crossing, approach the gated area and activate the button beside its metal door. Defeat or safely handle the Dagger Sester guarding the interior, then collect Axatana from the niche; no unrelated quest key is required by the reviewed location guide.
How the morphing moveset works
Axatana combines two combat profiles in one weapon. Light and heavy inputs can change its form during a sequence, so you are not limited to repeating one fixed string. That versatility is the reason many launch guides highlight it even when they disagree about exact rankings.
Practice each basic input separately against a low-risk enemy. Note the attack's reach, direction, movement, recovery, and whether it leaves you in the form you expected. Then test only one light-to-heavy transition until the visual change and timing become automatic.
Do not interpret “fast” or “flexible” as permission to continue attacking after a safe opening closes. The official combat description emphasizes posture breaks and critical opportunities, but an unfinished enemy string can still interrupt you. Use Axatana's options to choose a better answer, not to add unnecessary hits.
Use the two forms for different problems
Against one quick opponent, prioritize the form and transition that start reliably and let you disengage. Against a group, use attacks whose arc controls the space in front of you, then reposition before enemies surround the recovery. Test crowd coverage in ordinary encounters rather than discovering its limit inside a boss arena.
For posture pressure, identify the heavier actions you can land after a confirmed enemy commitment. A posture break matters only if you are close and controlled enough to convert the critical window. If the final attack in your planned string regularly trades damage, shorten the string.
Harden fits naturally into a weapon that encourages committed transitions. Begin an attack, Harden at the predictable collision point, and learn where the animation resumes afterward. The correct timing depends on the enemy and your current action, so build a few reproducible patterns instead of relying on improvisation every time.
Duality Stone and infusion choices
Launch guides repeatedly pair Axatana with the Duality Stone because the weapon's rapid light sequence benefits from its duplicate-hit behavior. Treat that as a build direction, not a guaranteed best answer for every Shell or patch. Verify compatibility in the equipment interface before investing scarce materials.
Voltaic Crown and Torpor-oriented options also appear in researched Axatana builds. An infusion should support the status or resource loop your Shell can sustain. If you cannot trigger or maintain the intended effect, a general-purpose stone that improves your reliable attacks may perform better in real play.
Avoid copying a full endgame combination before you own its components. Start with Axatana's unmodified moveset, add one stone, and compare the same attack pattern. This isolates what the stone actually changes and prevents an attractive guide label from hiding a build you do not yet understand.
Choose a compatible Shell
A good Axatana Shell supports close-range commitment, repeated pressure, or the resources required by your chosen infusion. Tiel, Proxima, and Eredrim appear among community recommendations, but their value comes from different abilities rather than a universal weapon lock. Consult the Shell database before spending toward a pairing.
Proxima is useful to compare if you already understand her ability loop, while a more durable Shell can offer room to practice morph timing. A mobility-focused Shell may make approach and disengagement easier. Choose the body that fixes your recurring failure instead of selecting solely from a tier label.
Compatibility matters more than theoretical peak output. Confirm that the Shell accepts the stones central to the build and that you can generate the required combat resource. If either condition fails, simplify the setup until every equipped component contributes during normal encounters.
Upgrade Axatana without wasting materials
Use the weapon unupgraded in a controlled area first. Perform its basic light sequence, heavy sequence, and one morph transition against familiar enemies. If its movement and recovery fit your playstyle, then begin committing upgrade resources.
Do not upgrade several primary weapons evenly unless you deliberately need alternatives. Concentrated investment makes the chosen weapon useful sooner, while the weapons database can preserve a list of later experiments. Keep enough flexibility to change a stone or sidearm when a boss exposes a weakness in the current plan.
Patch-sensitive damage numbers and universal tier claims are excluded from this page. Balance changes can alter exact output without changing the weapon's location or core morphing identity. Compare performance in your installed build if a recent update changes named stones or attack behavior.
Axatana practice checklist
- Reach Forgotten Tower from the Sester's Gate side of Mammon.
- Activate a safe return point before the final tower approach.
- Use the connected jump or Bone Gates and activate the metal-door button.
- Collect Axatana before detouring for optional tower loot.
- Test light and heavy strings separately against a familiar enemy.
- Practice one morph transition and its Harden timing.
- Confirm stone and Shell compatibility in the equipment screen.
- Upgrade only after the weapon's movement fits your playstyle.
For every other primary and sidearm location, return to the weapons database. New players who cannot yet judge upgrade value should use the beginner guide, while the Shell database helps evaluate compatible bodies without turning this weapon page into a general character tier list.
Sources
- AllThings.How: all weapon and sidearm locations
- P4wnyhof: Ultimate Axatana Guide
- Official Steam description
Last updated: