
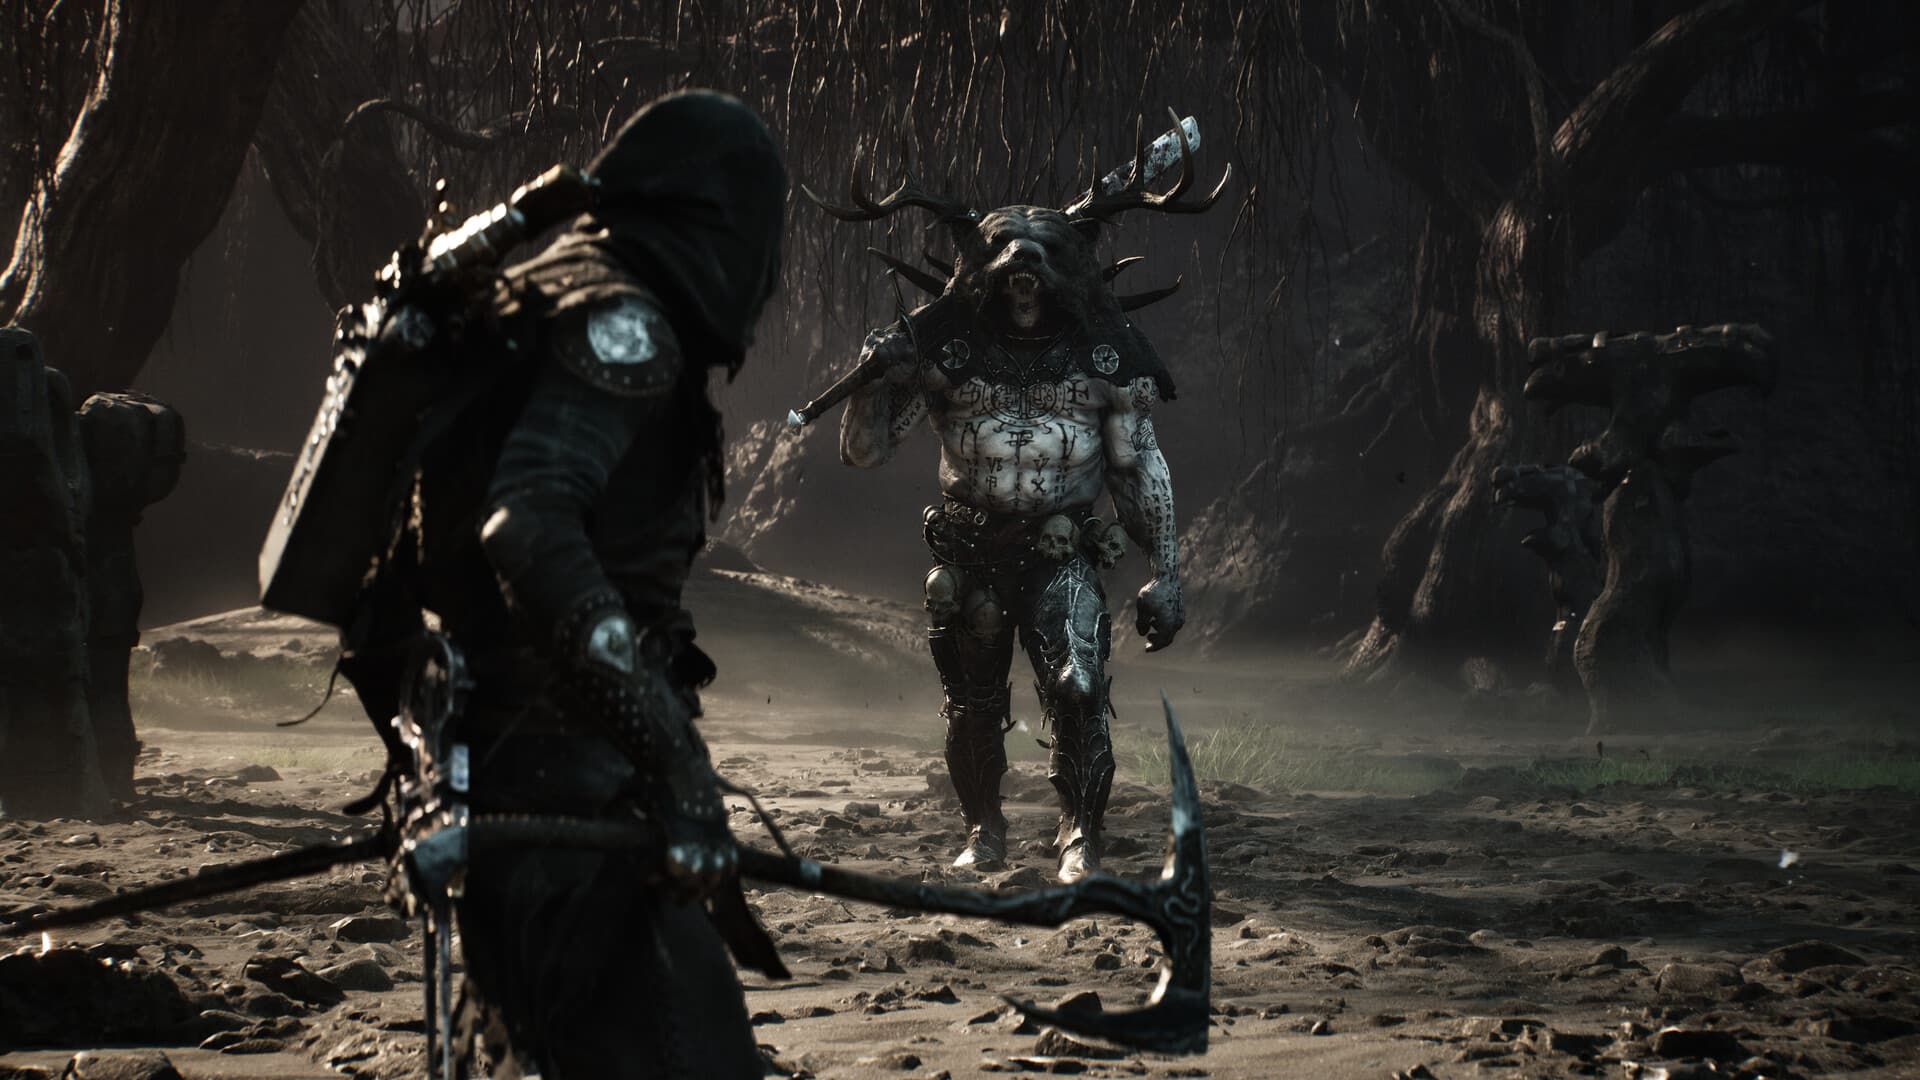
Mortal Shell II Beginner Guide
Start by learning Harden, posture pressure, and one dependable weapon moveset before chasing distant objectives. Finish the opening sequence deliberately, inspect the services at Marrow Keep, and explore the first region in short loops that return to a known Beacon. Your first goal is not a perfect build; it is a repeatable way to survive, recover resources, and understand why each attack succeeds or fails.
Learn the combat loop first
Mortal Shell II removes the conventional stamina bar, but this does not make endless attacking safe. An enemy can still interrupt a careless string, punish recovery, or force you into a bad position. Use light attacks to learn spacing, heavier actions to pressure posture, and critical opportunities only when the enemy is genuinely open.
Harden is the system every new player should test early. Activate it during a familiar attack animation and watch what happens when an enemy connects. Then repeat the test with a different timing so you understand both the protection and the cooldown rather than treating Harden as a panic button.
Parrying is valuable, but it does not need to be your only defense. Begin with enemies whose normal attacks have a readable rhythm, and separate those attacks from red or otherwise unblockable threats. If a parry attempt repeatedly fails, dodge or Harden while you learn the tell instead of donating resources to the same experiment.
Treat Marrow Keep as your operating base
After the prologue, slow down at Marrow Keep and inspect every available service. Learn where you manage Shells, weapons, upgrades, and travel before leaving on a long route. A few minutes spent understanding the hub prevents later confusion when a guide tells you to return with a quest item or change equipment.
Use the Beacon as the start and end of an exploration loop. Pick one visible landmark or one map objective, travel there, collect what you can safely reach, and return before adding another branch. This approach builds a mental map and makes a death easier to diagnose because you know which section of the route caused the problem.
Do not assume that every nearby enemy must be defeated immediately. Open-world routes can place a dangerous opponent beside something you can revisit later. Mark the location mentally or with the map tools available to you, then continue building strength and knowledge elsewhere.
Choose one Shell to learn, not one to marry
Shells replace conventional character classes by changing statistics, abilities, and combat priorities. The first useful Shell is the one whose defensive and offensive rhythm you can understand. Test a Shell against normal enemies before spending heavily, and notice whether its abilities solve the problem you actually have.
A durable Shell can give a new player more room to study enemy strings, while a mobile or specialized Shell may reward cleaner execution. Neither choice removes the need to learn positioning. The Shell database lists the eight permanent Shells and their routes, so use it when you want a collection plan rather than turning the opening hours into an exhaustive hunt.
Avoid spreading early investment across every body you discover. Keep enough resources available to change direction after you have tested the next option. Once a Shell consistently helps you clear ordinary groups and recover from mistakes, it is reasonable to strengthen the actions you use most.
Build around a weapon you can control
The official equipment structure separates primary weapons and sidearms. Learn the full basic string of one primary weapon, including how far it moves your character and where its recovery leaves you. A weapon with impressive damage is not an upgrade if its range or timing causes you to miss every safe opening.
Test a new weapon before committing scarce upgrade materials. Compare it against the same enemy type, and evaluate reach, crowd control, posture pressure, and the ease of stopping after a safe hit. Save specialized stones until you understand their compatibility and the build you intend to support.
Sidearms give you another way to interrupt, pressure, or manage enemies, but their resources and timing still matter. Use them to solve a specific situation rather than firing automatically. The weapons database is the right next page when you need locations and roles; this beginner guide stays focused on early decisions.
Spend resources to improve repeatable actions
Prioritize upgrades that strengthen something you already perform reliably. If your successful pattern is one or two safe hits followed by Harden, improve that loop before buying an ability you rarely activate. A small dependable advantage compounds across every encounter and teaches more than an expensive trick used once.
Do not carry a painful amount of vulnerable currency into an unfamiliar dungeon or boss. Return to a service point and spend toward a planned upgrade when losing the currency would change how cautiously you play. Resource protection is part of route planning, not an admission that you are avoiding challenge.
Maps and location services can save time, but decide what problem you want them to solve. If exploration itself is enjoyable, you may prefer to keep the world less marked. If you are collecting a particular Shell or weapon, paying for location help can be more efficient than wandering without a target.
Explore with landmarks and return routes
Use large structures, Beacons, launch points, and region boundaries as navigation anchors. When entering a new area, turn around once and study what the return path looks like; many players recognize an approach but not the same terrain from the opposite direction. The map guide explains how Ruk fragments clear the regional view.
Open shortcuts whenever you can and check whether a path reconnects to a familiar location. A shortcut is often more valuable than one extra pickup because it reduces every later run. When the route branches, finish the shorter branch or identify its purpose before committing to the deeper one.
Night or other difficulty-altering states should be treated as deliberate choices, not default beginner progression. Learn the normal enemy placement and your current build first. Increased rewards are only useful when you can survive long enough to keep them.
Read enemies in three passes
On the first encounter with a new enemy, look for its approach: a charge, projectile, leap, or slow walk. On the second pass, identify where its common combination ends. On the third, test one punish and stop before greed turns a correct read into a trade.
This method also works for bosses. You do not need to memorize an entire moveset during one attempt. Learn the gap closer, the longest common sequence, and the attack that punishes healing, then add one reliable response at a time.
After a death, name the decision that caused it. “Attacked during the third swing” or “healed at long range and triggered a leap” suggests a correction; “the game is too hard” does not. Keep every part of the run that worked and change the smallest relevant choice.
First-session checklist
- Complete the opening encounter and practice Harden against predictable attacks.
- Activate and inspect the Marrow Keep Beacon and nearby services.
- Learn one Shell's abilities before dividing early resources.
- Test one primary weapon's reach, full string, and recovery.
- Spend vulnerable currency before a blind dungeon or boss attempt.
- Open shortcuts and collect map information along planned routes.
- Leave unusually difficult optional enemies marked for a later return.
Once those tasks feel routine, choose a focused next goal. Collecting Shells expands playstyles, the weapons database supports build planning, and the map page turns exploration into a region-by-region route. Progress is strongest when each new system answers a problem you have already identified.
Sources
Last updated: